Records spreadsheet
Use this spreadsheet to create and update records.
You can create up to 100,000 records at a time.
Benefits of spreadsheets
Spreadsheets save time and let you create multiple items at one time.
- The menu displays spreadsheets matching your permissions.
- Always download a new spreadsheet before you begin adding data because the spreadsheet is populated with information from your database.
Format rules
- Enter all information as text or dates.
- You can add sheets to the notebook, only the sheet named DataEntry is processed.
- Do not rename, remove, or rearrange columns.
Maximum length for codes and names
The column header lists the maximum length for each attribute. When entering data, a red cell indicates the name or code exceeding the specified length. If you upload the spreadsheet without fixing the cell, the row fails to process and an error spreadsheet is created.
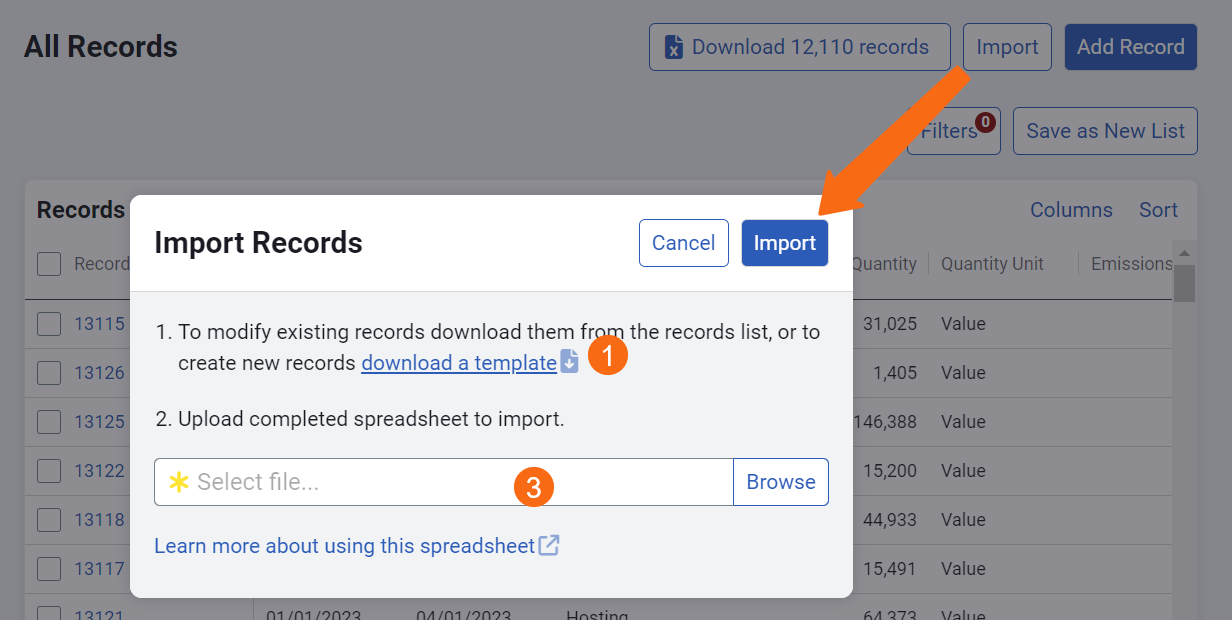
Create new records
- In the Records module, use Import to download a spreadsheet template for creating new records. The name format of the file is yyyymmdd-CREATE_EmissionsRecords.xlsx.
- Add your information and save the file.
- Select your file and Import your updated spreadsheet.
- If your file import results in errors you are redirected to the Setup Spreadsheets Log.
Edit records
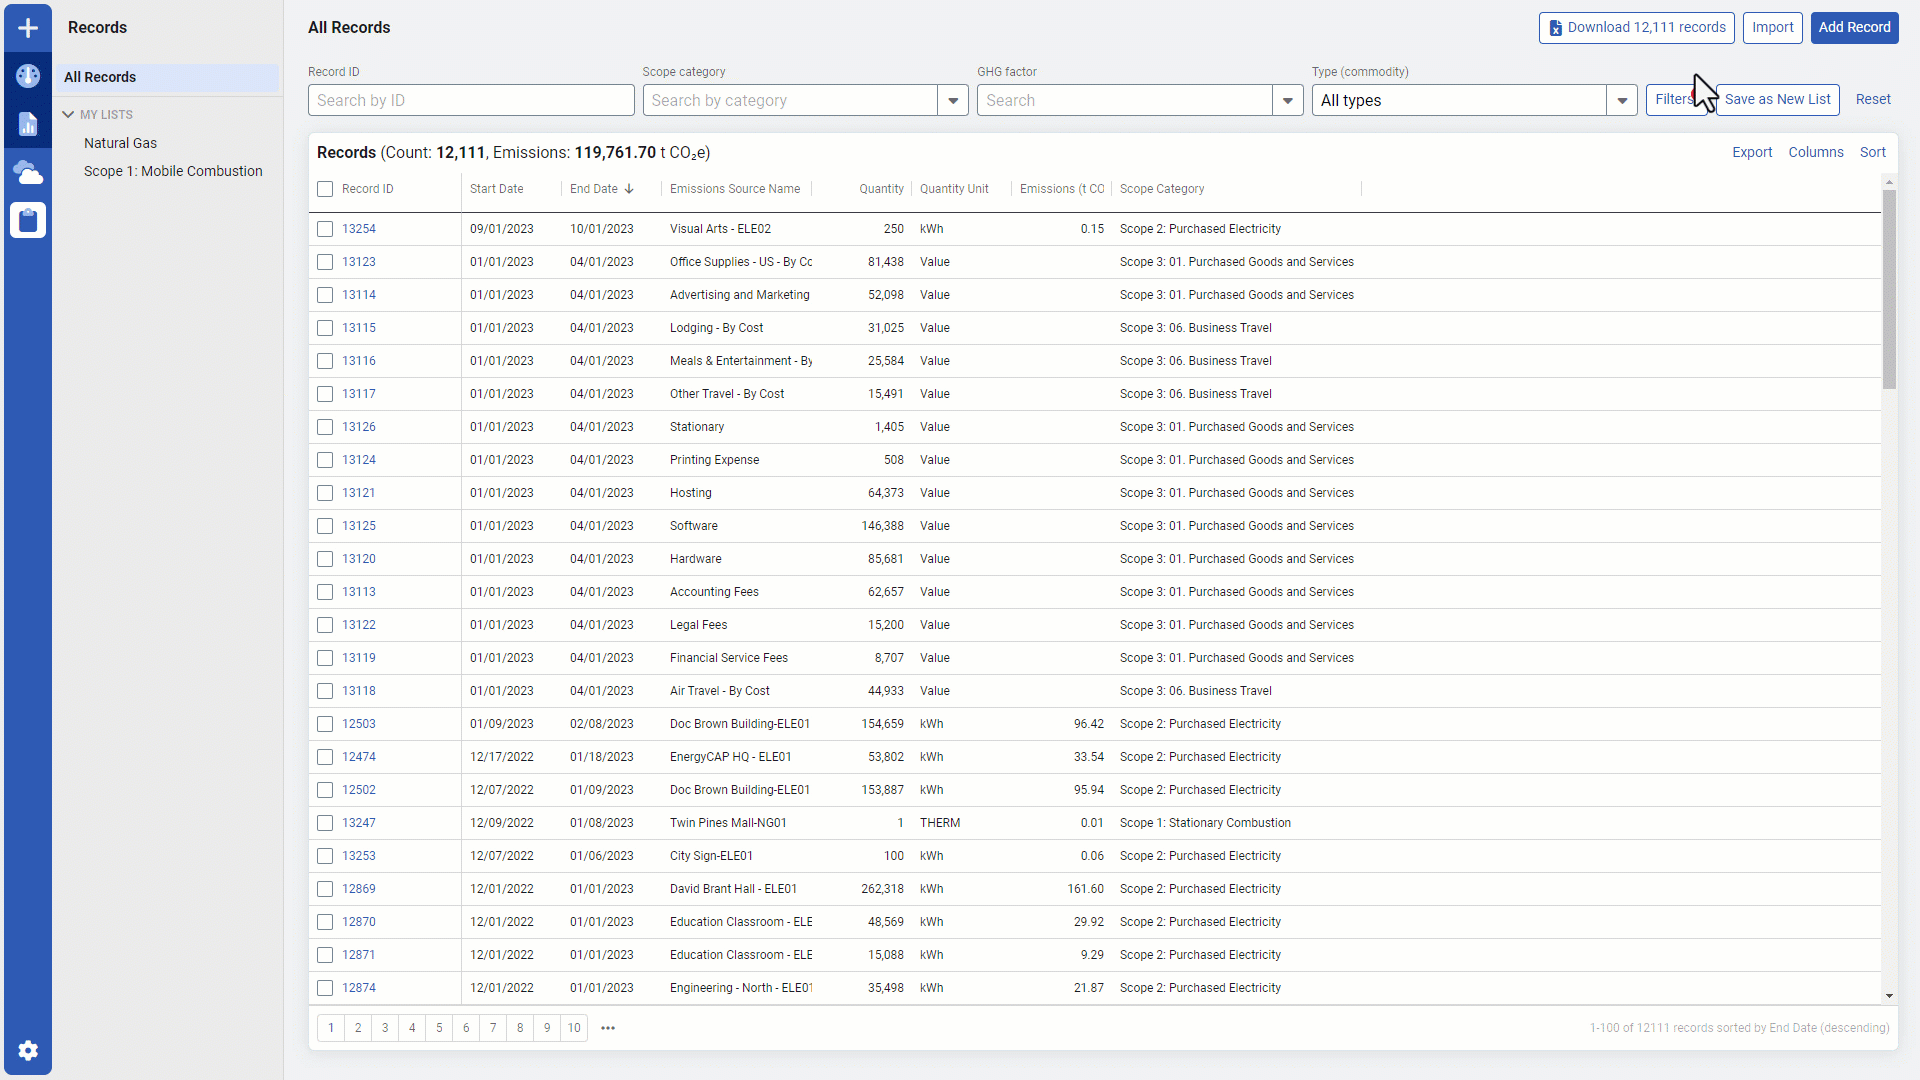
You can download all or a subset of your records to a spreadsheet.
If you have EnergyCAP UtilityManagement and your records are generated from bills you need to edit the UtilityManagement bill. The CarbonHub record is read-only.
- In the Records module, set the quick filters at the top of the All Records table to limit the size of your file.
- Click Download. The name format of the file is yyyymmdd_UPDATE_EmissionsRecords.xlsx.
- Edit your information and save the file.
- Select your file and Import the spreadsheet.
- If your file import results in errors you are redirected to the Setup Spreadsheets Log.
Record Information
Chose the emissions source from column D, or create a new one to associate a record with.
The start and end date refer to the time span of the record data.
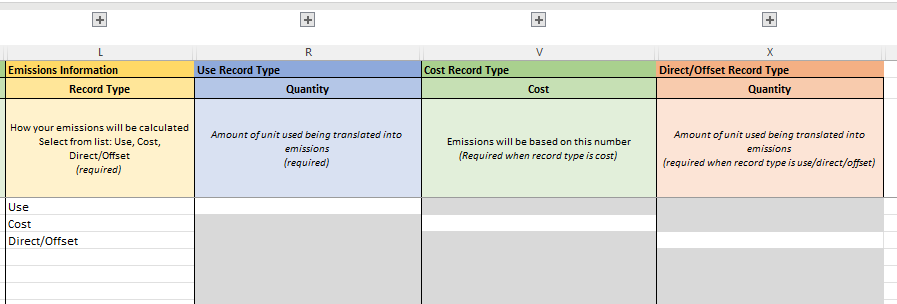
Record type
The type of record you select determines the information you need to fill in for the remainder of the spreadsheet. Look for the section of cells that change from grey to white to know which section is required.
When you use the emissions source defaults, the scope category and factor are automatically entered. If you want to override the defaults, you must choose your own scope category and factor.
Best practices when creating emissions sources
Follow the steps in yellow to help narrow your list of GHG factors in column Q.
- Select the region.
- Select the category.
- Select the GHG factor.
Spreadsheet columns
|
Column |
Rules |
| Record Information | |
| Success / Error | Hidden column |
| Record ID | Read-only column. |
| Bill ID | Read-only column. |
| Emissions Source Code | Select an existing emissions source or create a new one. |
| New Emissions Source Name | Enter new emissions source name. |
| New Emissions Source Code | Enter new emissions source code. |
| New Emissions Source Type (Commodity) | Enter new emissions source type. |
| Supplier | Select an existing supplier or create a new one. |
| New Supplier Name | Enter the new supplier name. |
| Start Date | Enter the start date for the record. |
| End Date | Enter the end date for the record. |
| Emissions Information | |
| Record Type | Select Use, Cost, or Direct/Offset. This is how your emissions will be calculated. |
|
Use Defaults? |
Decide if you want to use the defaults or not. When you are creating a new emissions source you must select Let me choose. Or you can create the emissions sources first and then use this sheet to create the records. |
| Scope: Category | If not using the defaults, select from the drop-down. |
| Factor Step 1: Region | If not using the defaults, select from the drop-down. |
| Factor Step 2: Category | If not using the defaults, select from the drop-down. |
| Factor Step 3: GHG Factor | If not using the defaults, select from the drop-down. |
| Use Record Type | |
| Quantity | Enter the amount. |
| Unit | You need to select a unit in the same unit category of your factor. |
| Cost | Enter the cost. |
| Currency | Select from the drop-down list. |
| Cost Record Type | |
| Cost | Enter the cost for this record. |
| Currency | Select the currency from the drop-down list. |
| Direct/Offset Record Type | |
| Quantity | Enter the amount. |
| Unit | You need to select a unit in the same unit category of your factor. |
| Cost | Enter the cost for the record. |
| Currency | Select the currency from the drop-down list. |