Manage users and access
View user information
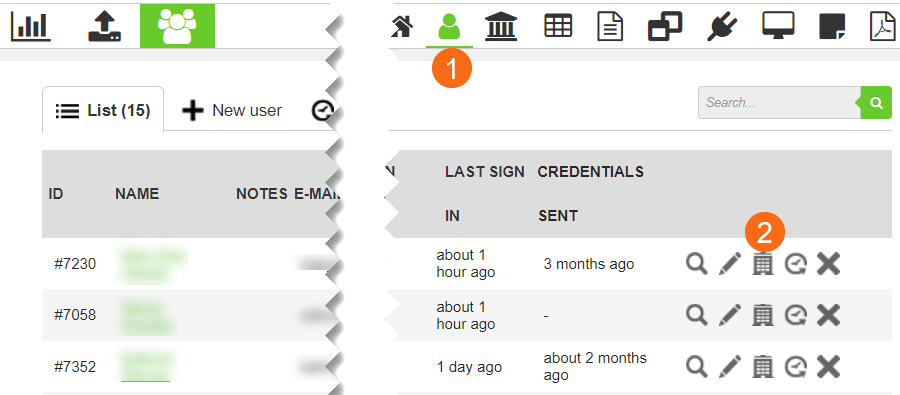
- On the Admin tab.
- Click Users.

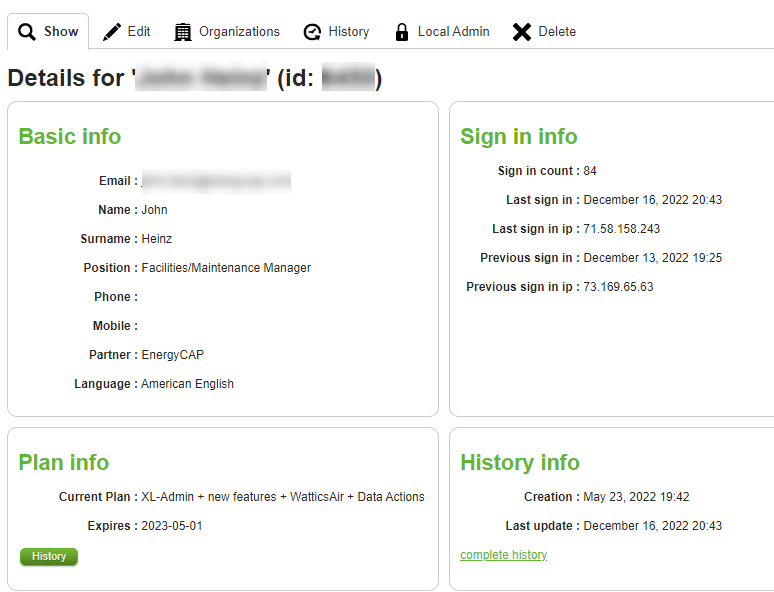
Search for a user and then click their name to see details.
- Use the Edit tab to update information or the plan. As an administrator, you assign a plan to your users based on what tools they need.
- Add or remove organizations and sites to the user's view.
- The History tab shows you changes made to the user.
- Decide if this user needs to be a Local Admin. Local administrators can help with administrative tasks for a specified group of users and assigned sites.
- Delete the user.
Add a user
Typically you create the user and then assign the organizations and sites you want them to have access to. The last step is to send them their activation email.
- Click the New user tab.
- Fill out the form.
- Set the user's password, or if you want the user to set their password, uncheck the Set Password option.
- Select their language.
- Set their plan.
- Create User.
Add organizations
After a user is created, and before sending them a welcome email, you need to give them access to one or more sites.
- Search for the new user.
- Click Organizations.
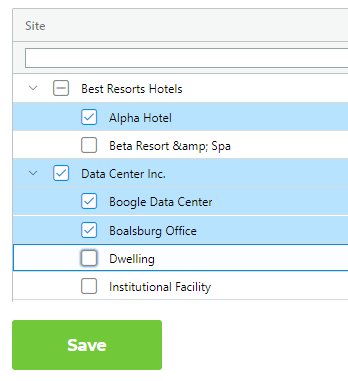
- Check the organizations and sites to give access. If there are multiple sites, you can decide which to select.
- Save.
Search and assign the appropriate sites to the user.
If the organization has multiple sites, you can restrict the visibility to one or more sites.
Send activation email
After you assign organizations and sites, you are ready to send the welcome email. This has links to set up their password and access their dashboard.
After you send the welcome email, the notification icon is no longer visible.
