Groups overview
Last updated September 22, 2026
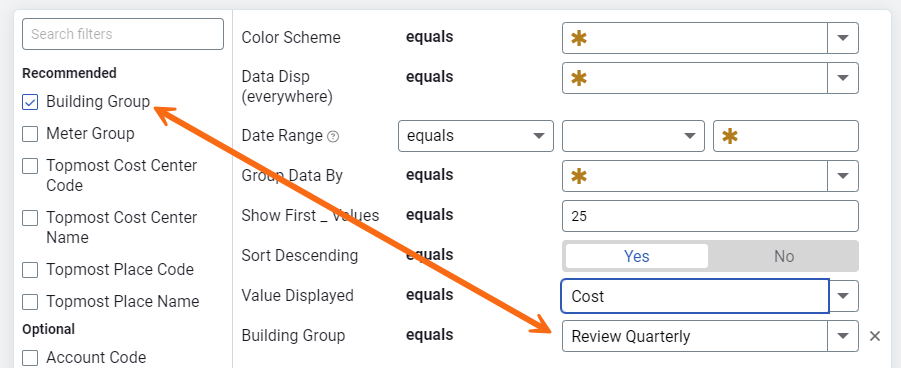
Groups let you compare similar sites or meters and are available as filters in:
- Dashboards
- Reports
- Bill lists
You can also create your own groups based on attributes that matter to you—like building type, region, or use patterns.
Types of groups
- Automatic: Members are added based on filters, including custom fields.
- Manual: Members are added or removed manually.
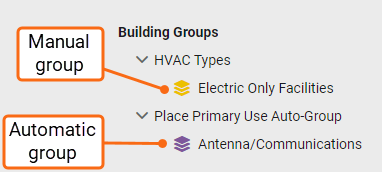
Automatic groups are preferred because you don't need to remember to keep them updated.
Benefits of groups
Groups let you report on any collection of sites or meters, regardless of where they fall in your facilities hierarchy. Most filters in dashboards, reports, and bill lists support site and meter groups, so you can compare across different branches of your tree, across campuses, or across building types that are otherwise unrelated in your hierarchy.
Groups are also used in the Groups and Benchmarks module, where you can compare group members by cost, use, or demand and identify outliers and savings opportunities. You can also use groups with custom benchmarks to normalize comparisons by occupancy, enrollment, or other values that matter to your organization.
Categories
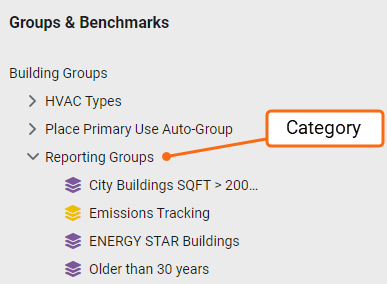
Categories help you organize your groups in the left panel. For example, you might create a category called Building Type and add groups for offices, schools, and warehouses beneath it. You assign a category when creating or editing a group. Empty categories are hidden from the main view but remain visible in the management section.
Create a group
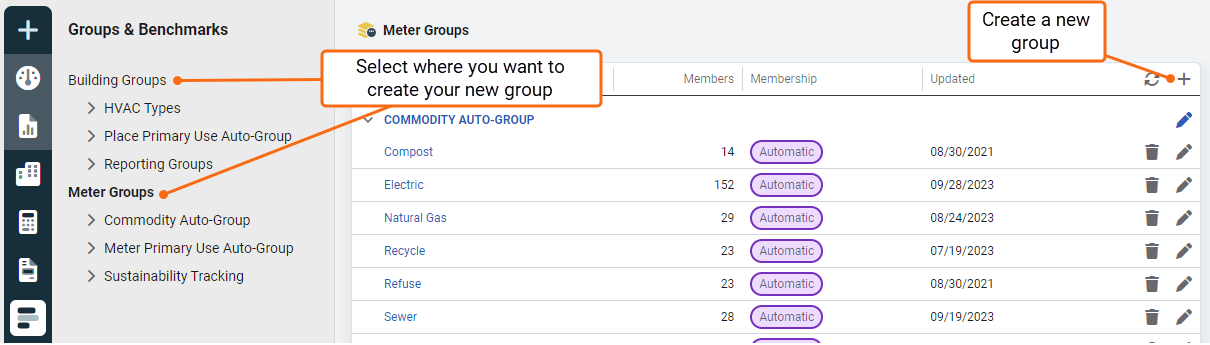
- In the Groups and Benchmarks module select the Site Groups folder or Meter Groups folder and click the plus sign.
- Enter a unique name for the new group.
- Choose an existing category for your new group or create a new one. Categories help you organize your groups.
- Decide if all users should see all sites or meters including those outside their topmost place access. By default, all users cannot see benchmarks for sites and meters outside their topmost place.
- Choose the group type.
- Automatic: Set the appropriate filters.
- Manual: Choose the members.
In this example, a custom field is used in the filter and the group type is automatic.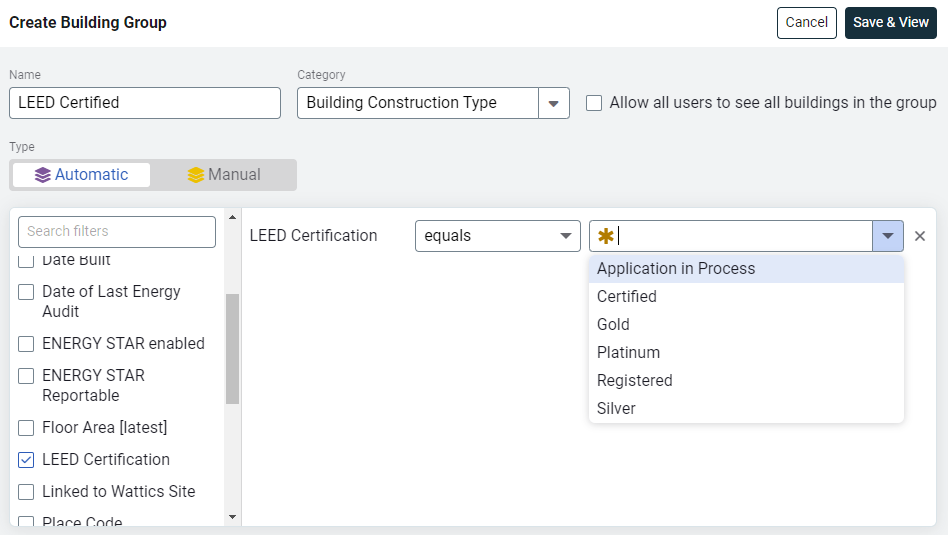 The new group LEED Certified is created under the Building Construction Type category. For this example, notice there are groups for Application in Process, Gold, Platinum, Registered, and Silver.
Get a head start on creating a manual group:
- Create and save an automatic group.
- Edit the group and change the Group membership maintenance to Manual.
- The original members are still listed—add or remove as needed.
Edit a group
- Select the group you want to update.
- Click the pencil.
- Update the name, type, members, etc.
- Save.
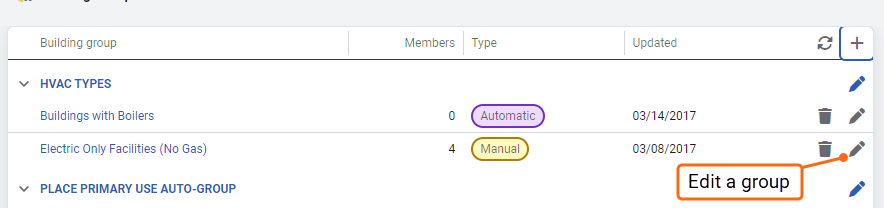
Steps to create an automatic vendor commodity group
Create an automatic group while in the Vendors and Rates module.
- Select a commodity or rate schedule.
- Use the Actions menu to automatically create a group.

- Enter a name and select a category for the new group. Group names must be unique within Site Groups or Meter Groups.
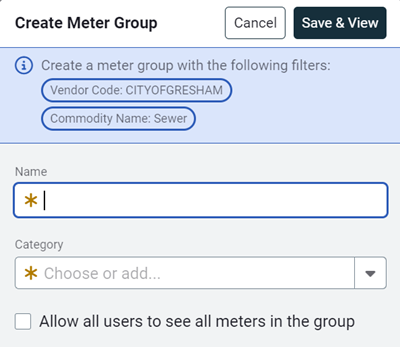
- Save and view your new group.
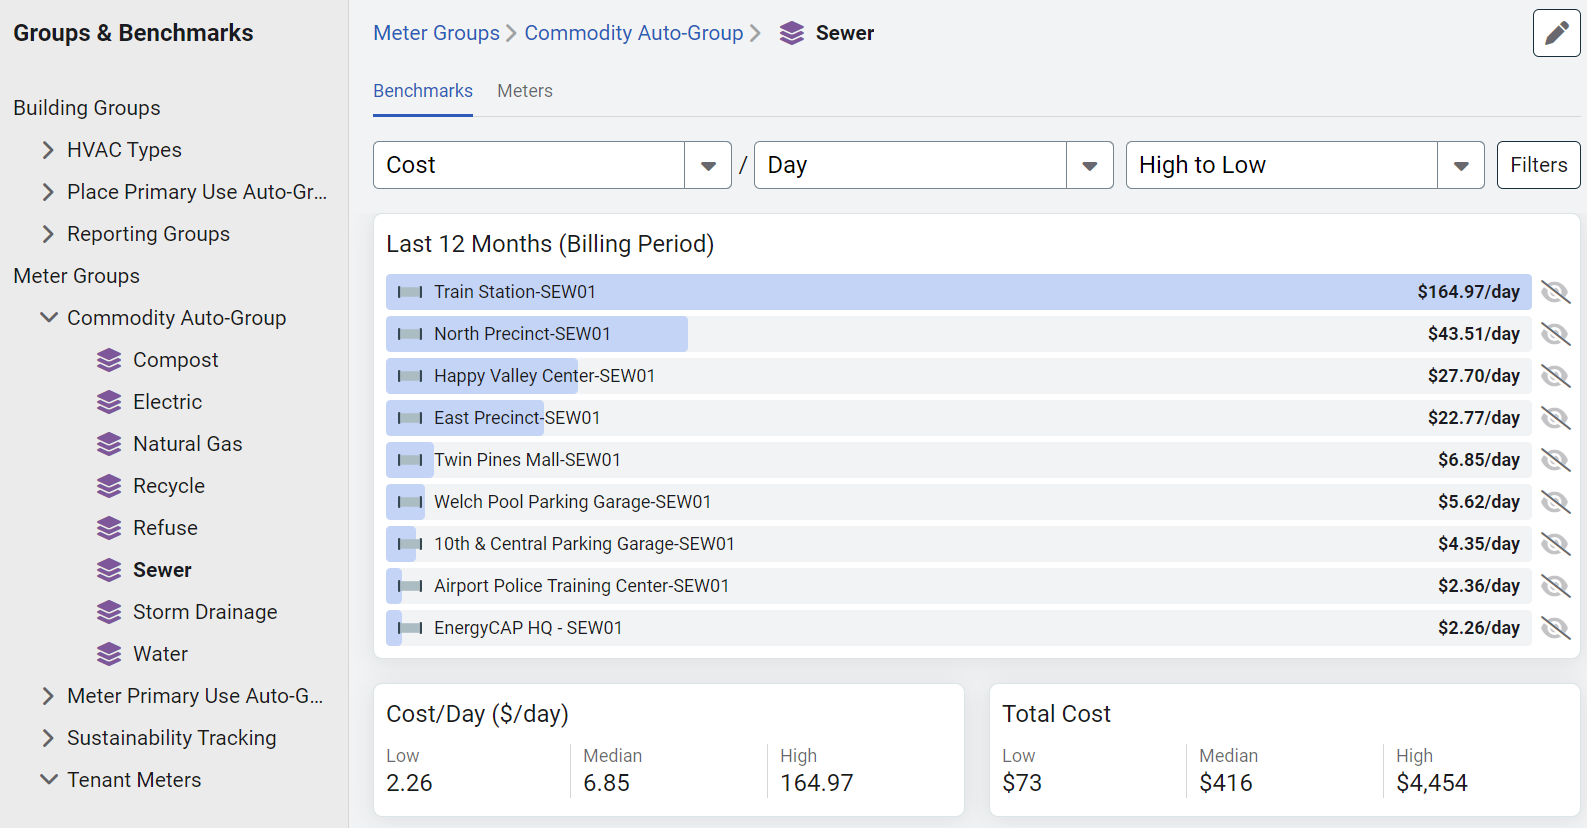
Create your own custom group
- Create a custom field for sites or meters.
This example shows a custom field for a site. (In the Sites and Meters module menu, choose Custom Fields for Sites.)
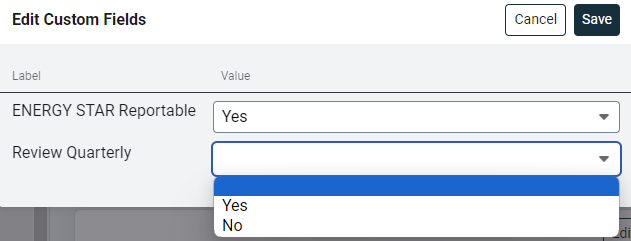
- Populate the custom field individually on each object or with a setup spreadsheet. (On the site Properties page, click Edit Custom Fields.)
- Create a new group and use filters to automatically populate your new group. By keeping your custom fields updated your groups will always be up to date.
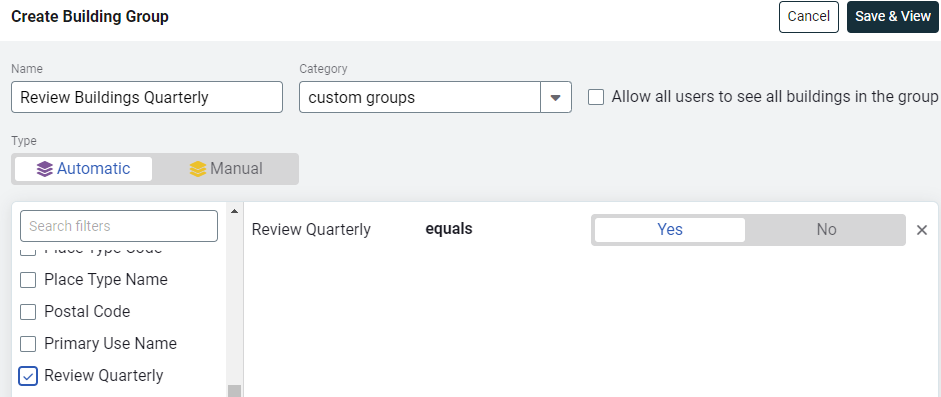
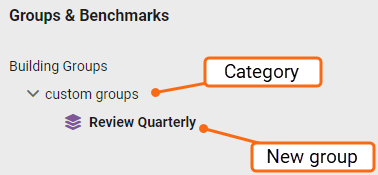
- Create a new category Special Buildings, with a group titled Review Quarterly. (In this example, the group name is the same as the custom field.)
- Add Site Group equals as one of your dashboard filters. From the drop-down select Review Quarterly. Now the only sites that appear in this report are from the group you created - Review Quarterly.