Manage custom fields and groups
Last updated September 22, 2026
The custom fields overview article explains the different types of custom fields and provides examples for each. This article shows how to create and populate a custom field, and how to create a group based on custom field values.
You can always find the Custom Fields option in the module menu of the related object.
Example: How to create a meter custom field
- In the Sites and Meters module menu, choose Custom Fields for Meters.
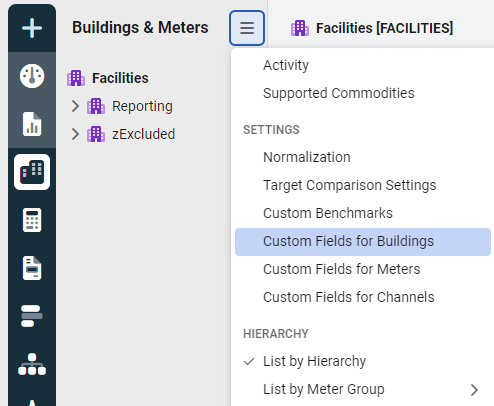
- Click the plus (+) icon to add a custom field.
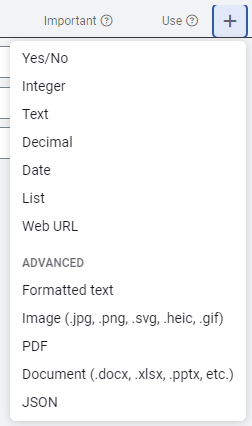
- Choose the type of custom field you want.
- To upload a document, select an advanced custom field.
- If no fields exist yet, use the Add a new field dropdown.
- Enter a label for the field. This is the prompt that appears in the application.
If it is a list field, click Edit Options to add at least one list item. - Save the custom fields.
- Add values for each meter. See Populate a custom field in the application or Populate a custom field with a spreadsheet below for both methods.
Note: Advanced custom fields support more complex data (like documents) and can only be added directly in the application. The same steps above apply to custom fields for sites, accounts, vendors, and other objects—just access Custom Fields from the module menu of that object.
Populate a custom field in the application
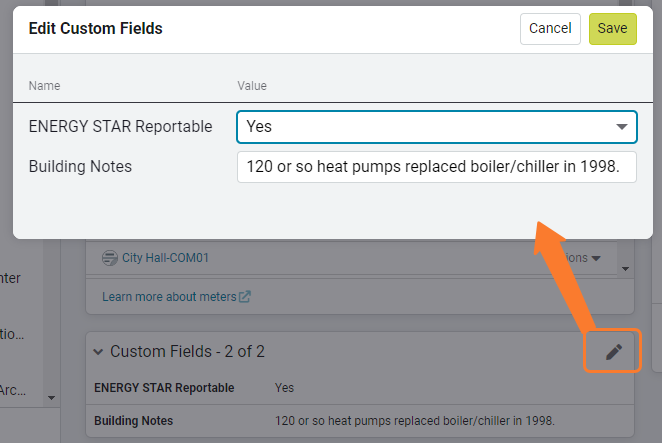
- On the Properties tab of the object, click Edit.
- Enter the values for the custom fields.
- Save.
Populate a custom field with a spreadsheet
- Go to the Setup Spreadsheet Log, click Download.
- Download an update sheet for the object you want to update.
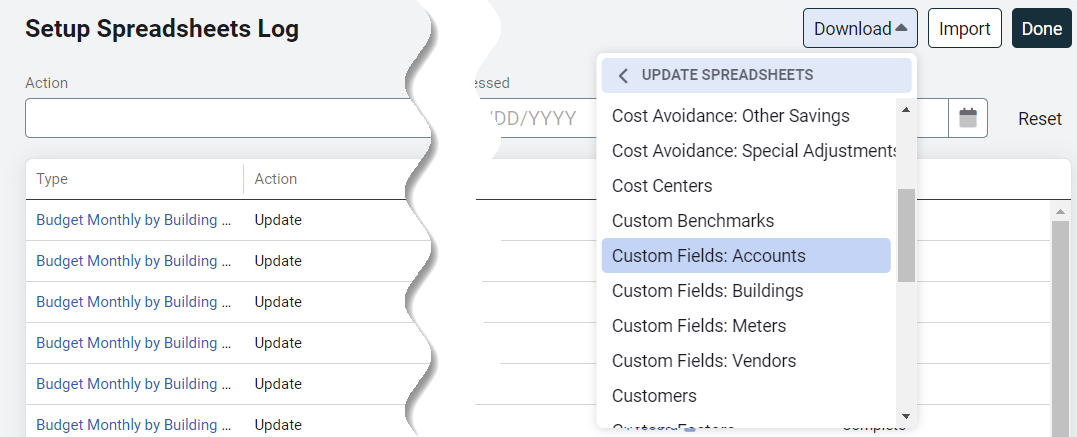
- (Optional) Apply filters to limit the data included in the spreadsheet.
- Open the spreadsheet.
- Green columns show current values.
- Enter updates in the white columns.
- Save your spreadsheet.
- Return to the Setup Spreadsheet Log and click Import.
- Check the upload status.
- If there are errors, download the error (kickout) spreadsheet.
- Correct the errors and upload the error spreadsheet.
System custom fields
System custom fields are locked by the system to ensure their configuration cannot be changed. They are typically used to support external automation such as a reformatter or API script. You can view a system custom field and its values, but you cannot edit its label, type, or options, and you cannot delete it. If you need to change a system custom field, contact your EnergyCAP administrator or support team.
Steps to create a group
- Create the custom fields first.
- Populate the custom fields for each object—either directly in the application or by using a spreadsheet.
- When creating the group, decide whether to use an existing category or create a new one.
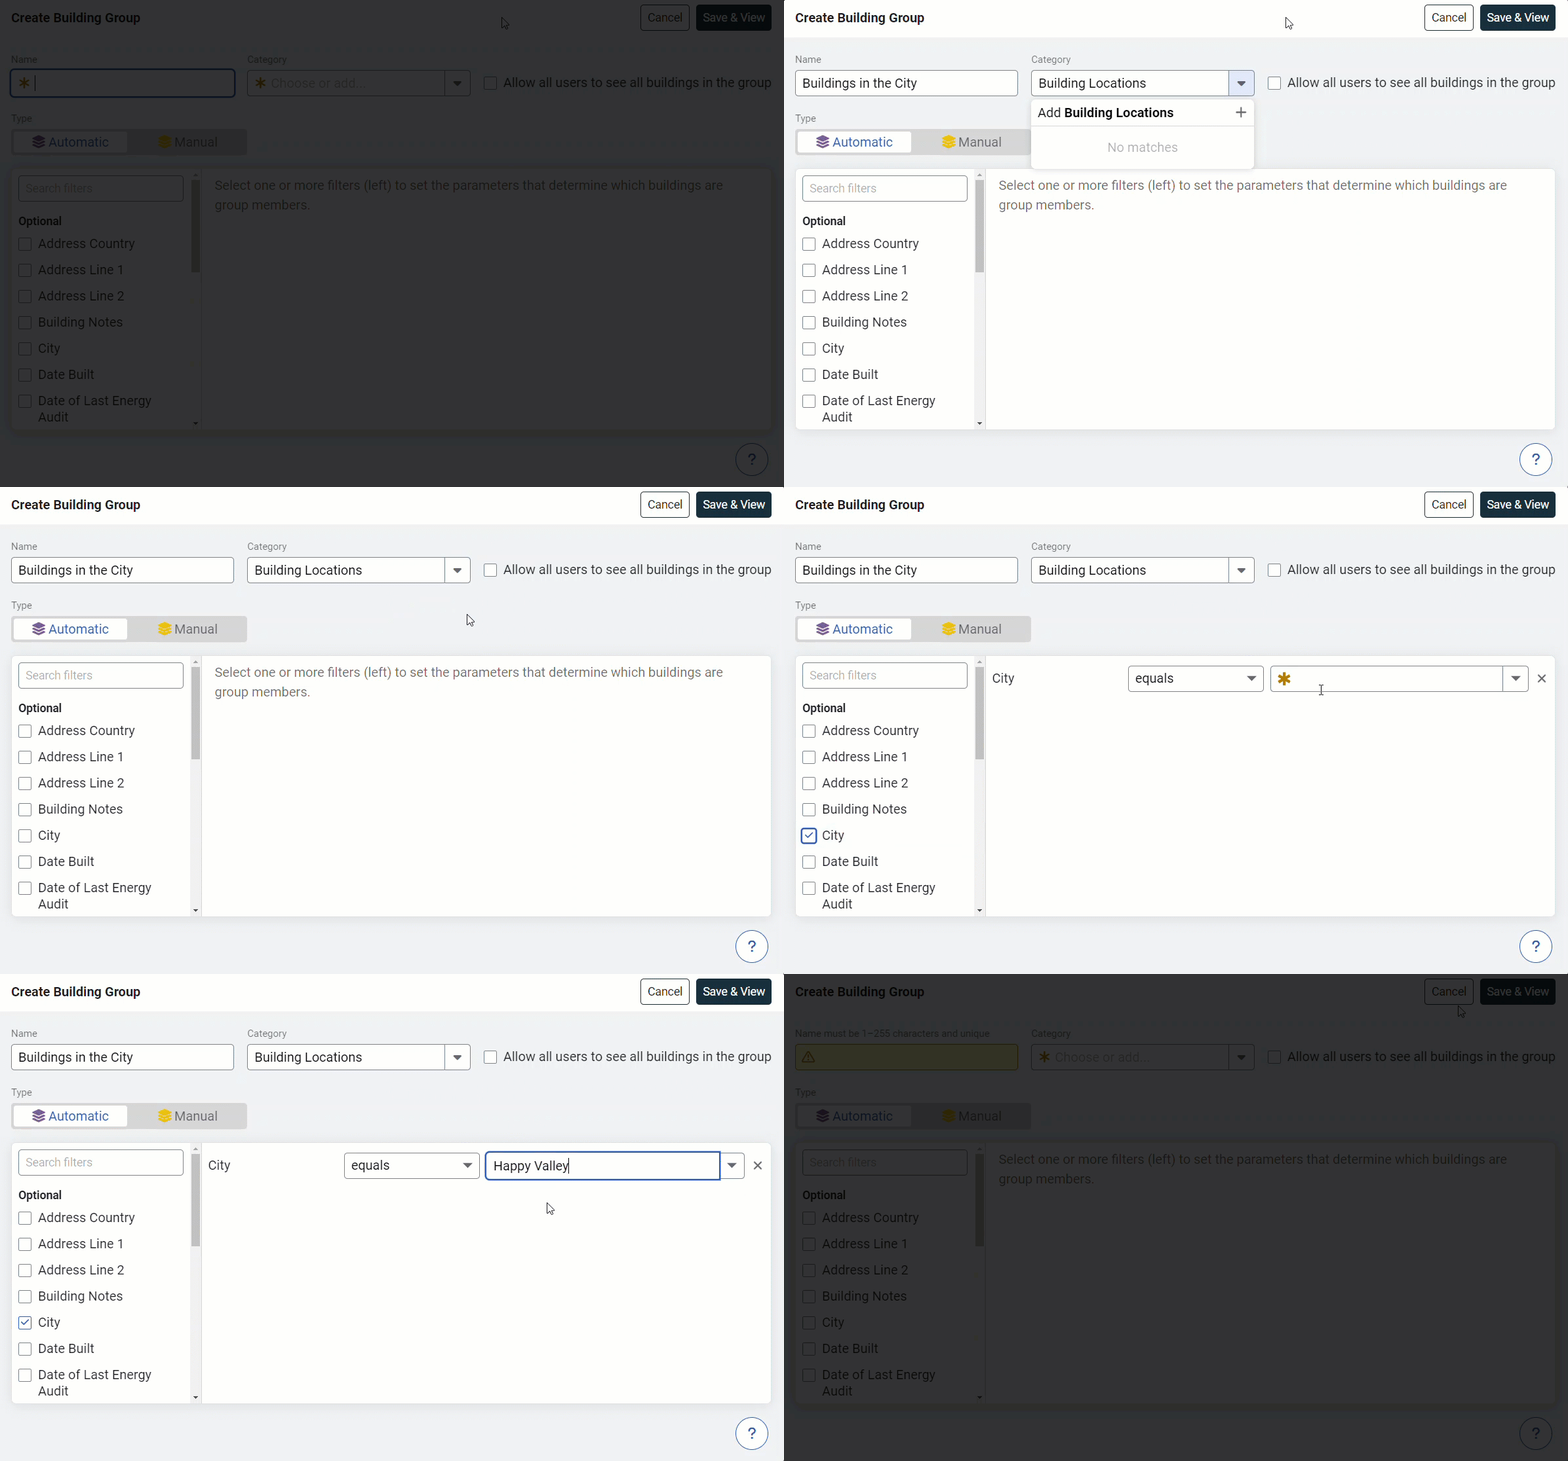
- Create an automatic group by applying filters based on the custom fields.
Example: Create a new group and new category
- Go to the Groups and Benchmarks module.
- Under Site Groups, click the plus (+) icon to Add a New Site Group.
- In the form, you can:
- Enter the new group name, and
- Create a new category for the group.