Add a vendor
Last updated July 6, 2026
Steps to add a new vendor
To add multiple vendors at one time you can use the Create vendor spreadsheet.
- Go to the Vendors and Rates module.
- Use the Actions menu and select New Vendor.
- Enter the required information.
- Add any optional information.
- Click Save.
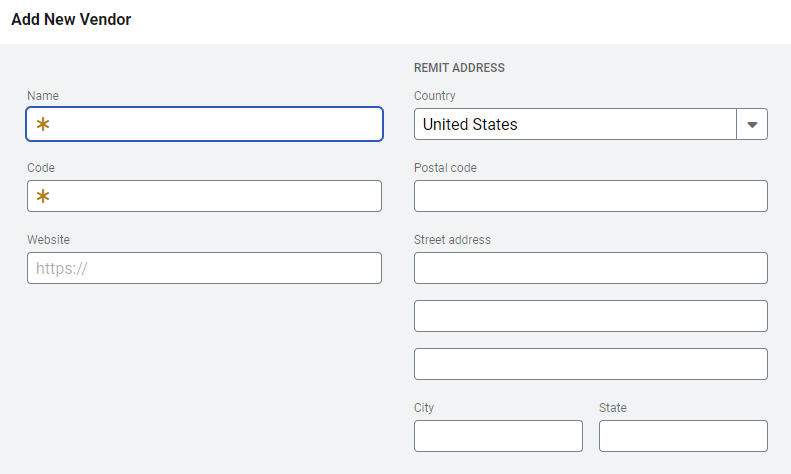
New vendor dialog form
Vendor Name: Name of the vendor. It can include spaces and is limited to 50 characters.
Vendor Code: Unique identifier. It cannot include spaces and is limited to 16 characters.
Website: Optional link to the vendor's website.
Phone number: Phone numbers must be entered in one of these formats:
- XXXXXXXXXXX
- X-XXX-XXX-XXXX
- X XXX XXX XXXX
- X.XXX.XXX.XXXX
- X (XXX) XXX-XXXX
Email: Enter the email address for the vendor.
Letter of authorization: Upload the document that confirms EnergyCAP's permission to work with a vendor on your behalf (for example, to pay your utility bills). Not currently available in setup spreadsheets.
Remit to: Enter the name to be used for check payments. This can be the same as the vendor name.
Street address line 1
Street address line 2
Street address line 3
City: For the United States and Canada, the city is populated from the postal code.
State: For the United States and Canada, the state is populated from the postal code.
Country: Choose from the list.
Postal code: Enter the postal code.
Vendor alias
Vendor aliases help prevent bill import errors. You can add up to five unique aliases per vendor.
- You can add a vendor alias when editing a vendor or from the Bill Import Errors screen.
- You cannot update or view aliases in an update spreadsheet.
- During import, EnergyCAP compares the vendor code on each bill to the defined aliases. If the code matches an alias, EnergyCAP imports the bill instead of rejecting it.
When to update the vendor name or code or add an alias
Add an alias when:
-
The vendor name or code in your bill import file doesn’t exactly match the vendor name or code printed on the utility bill and already stored in EnergyCAP.
-
Common examples:
- Extra characters appear in the import file (for example, leading zeros, suffixes).
- Formatting differences occur (for example, dashes vs. no dashes).
Adding an alias lets EnergyCAP match these variations to the correct vendor without changing the true vendor name or code.
Update the vendor name or code when:
-
The utility vendor name or code changes on the actual bill.
-
In this case, the information stored in EnergyCAP is no longer current, so you should update the vendor name or code to reflect the new official vendor information.