Vendors and Rates module overview
Last updated July 6, 2026
The Vendors and Rates module is where you manage the utility companies and suppliers that provide service to your organization, along with the rate schedules used to calculate your bills.
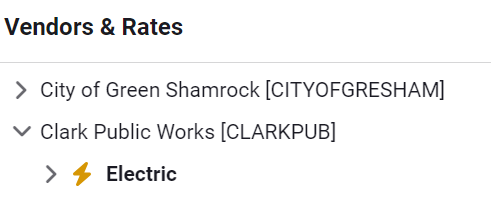
Vendors are linked to accounts, and accounts are linked to meters—so getting your vendor and rate setup right is the foundation for accurate billing and reporting in EnergyCAP. Each vendor has one or more rate schedules, which define how charges are calculated for the meters assigned to that rate.
- Vendors provide utility service to meters and are linked to accounts.
- Each vendor has rate schedules for each commodity.

Two types of vendors
- Utility company
- Internal vendor (used to generate chargeback bills)
View all accounts for a vendor
You have two options for viewing all accounts linked to a vendor.
Option 1: In the application:
- Go to the Vendors and Rates module.
- Select the vendor.
- Click the Accounts secondary tab.
Option 2: With spreadsheet:
- Go to the Setup Spreadsheets Log screen.
- Click Download and select Update Spreadsheets.
- Download the Update Accounts spreadsheet.
- Sort the spreadsheet by the Vendor Code column.
Steps to delete a vendor
- Go to the Vendors and Rates module.
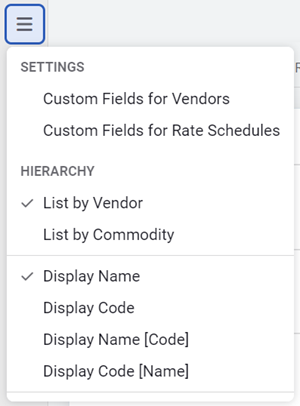
- In the module menu (three stacked lines at the top of the hierarchy panel), select List by Vendor.
- Open the Actions menu.
- Select Delete Vendor.
You can only delete a vendor in the Vendors and Rates module when using the List by Vendor view. Use the Actions menu to delete the vendor.
Steps to create a new vendor
- Go to the Vendors and Rates module.
- Open the Actions menu.
- Select New Vendor.
- Complete and save the form.
Vendors and rates module menu
|
Settings |
|
|
Custom Fields for Vendors |
Edit and create custom fields for vendors. |
| Custom Fields for Rate Schedules | Edit and create custom fields for rate schedules. |
|
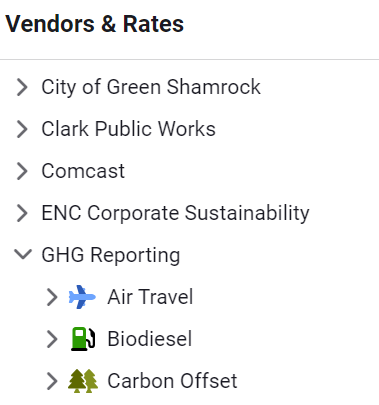
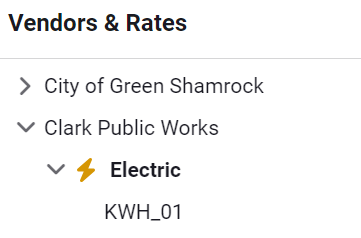
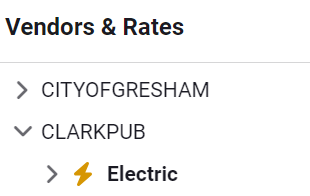
Hierarchy |
This section determines how your vendors and rates are displayed. |
|
List by Vendor |
|
|
List by Commodity |
|
|
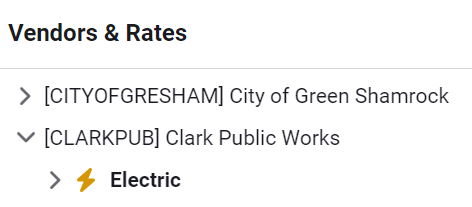
Control your tree view by choosing name, code, or both. |
|
|
Display Name |
|
|
Display Code |
|
|
Display Name [Code] |
|
|
Display Code [Name] |
|