How to enter a bill
Enter bills into Utility Management
- Manually one by one.
- With a Bill Import File you can enter multiple bills with one file.
- With the Bill CAPture Service.
Where can you enter a bill?
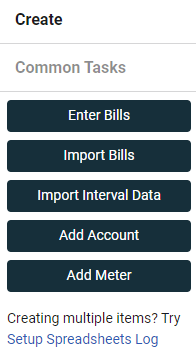
- Use the plus sign (Create dialog).
- In the Bills module on a bill list.
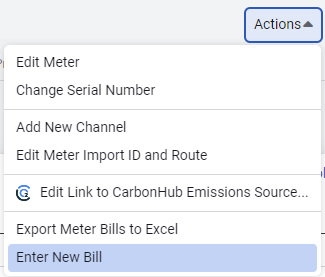
- From any meter or account with the Actions menu.
Steps to manually enter bills
These steps are when this is NOT a bill for a new meter and everything already exists for bill entry. If you are entering a bill for a new meter you must first:
- Check that the vendor and associated rate schedule exist.
- Create the account if needed.
- Create and link the meter to the account.
- When entering the first bill you will need to edit and update the bill format.
How do I enter estimated bills?
You can mark a bill as estimated in two ways:
- During manual bill entry
When entering a bill manually, look in the bill header section.
Check the box labeled Estimated before saving the bill. - Editing an existing bill
Edit the bill and in the bill header, check the Estimated box.
Save your changes. - During bill import with a spreadsheet
In your import spreadsheet, use the ACE column. - Enter E in the ACE column to mark the bill as estimated.
1. Click Create (the plus sign) and then Enter Individual Bills (or Enter a New Bill from a Bill List).
2. Search for the account.

Use your mouse or keyboard to select an account from the list.
3. Select account.
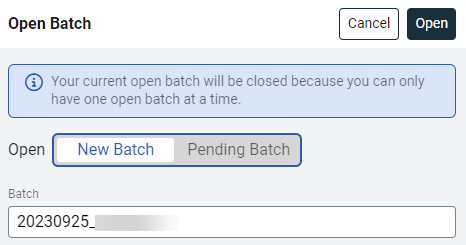
Add a new batch or select any pending or open batch
If you choose the the wrong account you can Search Again for another account or Cancel.

4. The start date of the bill is the end date of the previous bill.
If a previous bill exists in your database, the start date is populated for you. The start date is the end date of the previous bill. This avoids gaps in your bill history. The start date can be updated.

Utility Management assumes the meter is read at noon and to avoid double counting days, the start date is counted as a full day and the end day is not counted.
5. Enter the End Date or the Number of Billing Days.
After the start and end dates are entered, the account history and trend charts are visible for each meter. If an account memo is in effect it is shown.
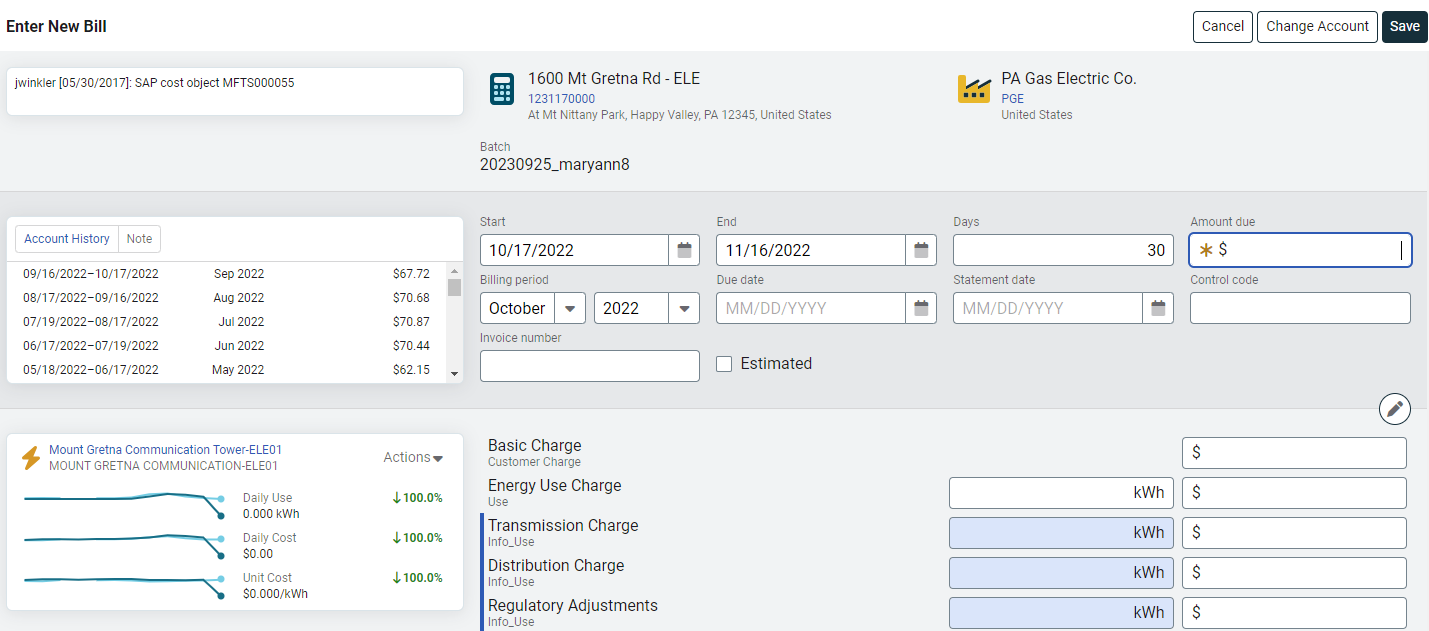
6. Enter required bill header information.
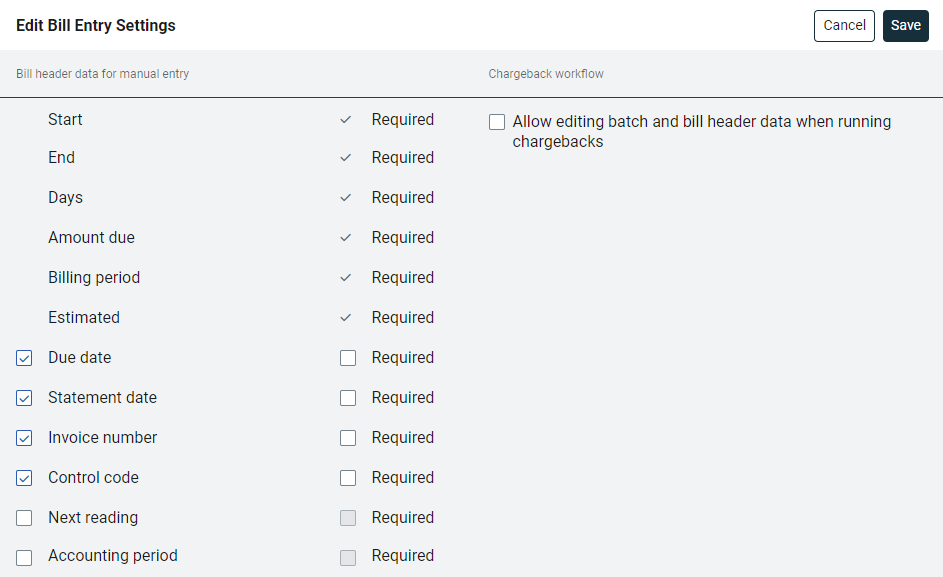
Enter all the required bill header information (all inputs with a yellow asterisk). The amount of required information in the bill header is configurable in the Bills module menu.
7. Enter bill details.
Enter the details from the bill into Utility Management.
Keyboard tips
- No commas needed or permitted.
- Dates can use slash, period, or hyphen as a separator.
- If the bill is for the current year, no need to type the year.
- Use the tab or enter key to move through the bill.
Add bill line
Occasionally you may have a line item on your bill that isn't represented on your Utility Management bill. If this happens you can add a bill line by clicking Edit Bill Lines (pencil).
The application notices your bill format has changed and asks if you want to keep this new format.
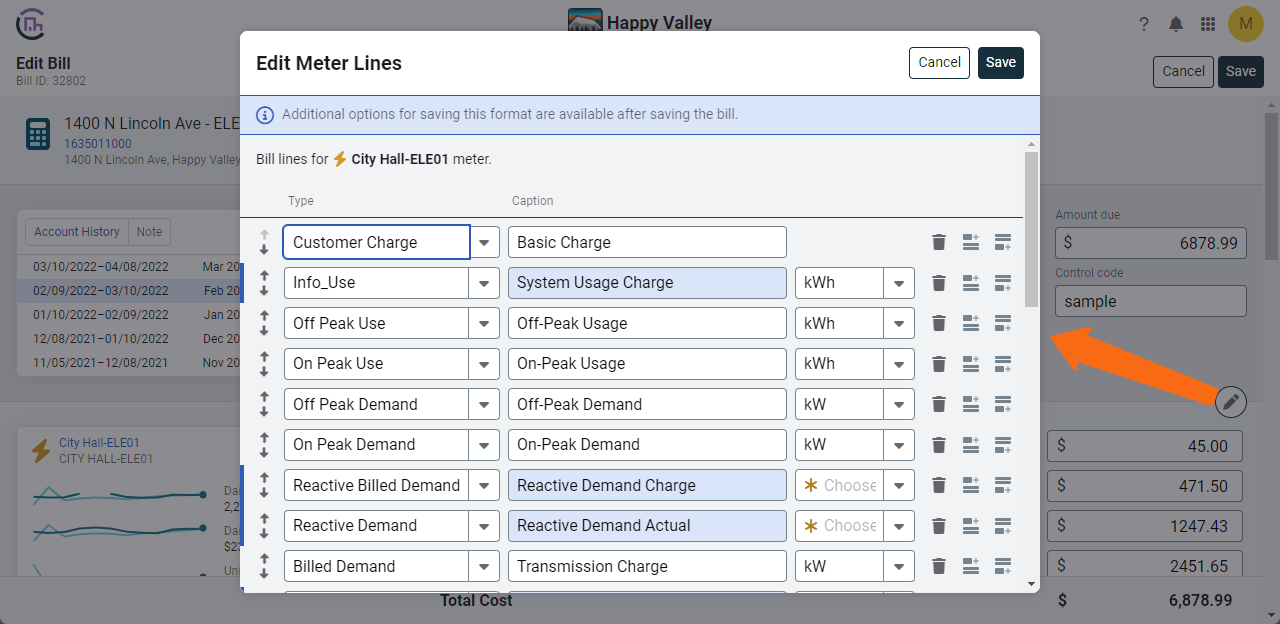
Apply bill format options
If you change the bill lines for a meter you have the following options:
- Use for this bill only (new bills are not be affected).
- Use this format for all new bills for this meter.
- Use this format for all new bills on this rate schedule.
- Select specific meters on the rate schedule to use the format.
- Account line items are not copied.
Add account bill lines
Account bill line items are charges that may not be part of your bill entry format. A charge is typically assigned at the account level when it does not have a link to the use or demand on the bill. To add account charges click Edit Account Bill Lines (pencil).

Add a bill note
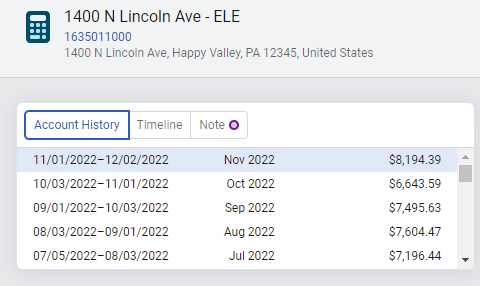
A bill note adds a message to the bill. A purple dot signifies the bill has a bill note. Click the Note tab and type your message.
Examples
- Water leak caused an abnormal bill.
- Corrected bill from vendor because of defective meter.
- This bill included setup fees for new meter.
Upload bill image (optional)
You can upload a scanned image of the utility bill when you are creating (or editing) the bill.

8. Save.
If your bill fails a bill audit you have two options when saving the bill.
Save and Flag the Bill - use this option to review and resolve the flag at a later time.
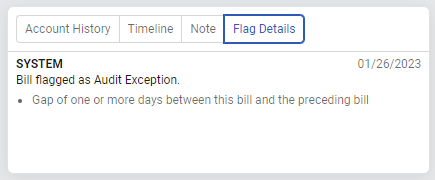
Save and Resolve the Flag - after reviewing your data and determining the bill is correct you can resolve the flag and save the bill. A record of all flag actions is on the Flag Details tab of the bill.

9. Green banner confirms results.
Use the links in the banner to review your bill, the current batch, or the account. If you are ready, search for your next account and enter your next bill.

Empty lines not saved
While entering billing information, if a line has no value it is not saved and is not shown when you view the bill.
For example, if the electric usage kWh is left blank this line is not shown after the bill is saved.

View bill history
Bill history pop-out
This action opens a new and separate window. This information is useful to review when manually entering a bill and contains the following information:
- Meter information
- Historical line charts for the previous 12 months
- Tabular data for the previous 12 months
The bill history pop-out can stay open indefinitely and the contents update as you move from meter to meter.
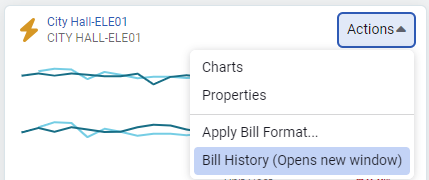
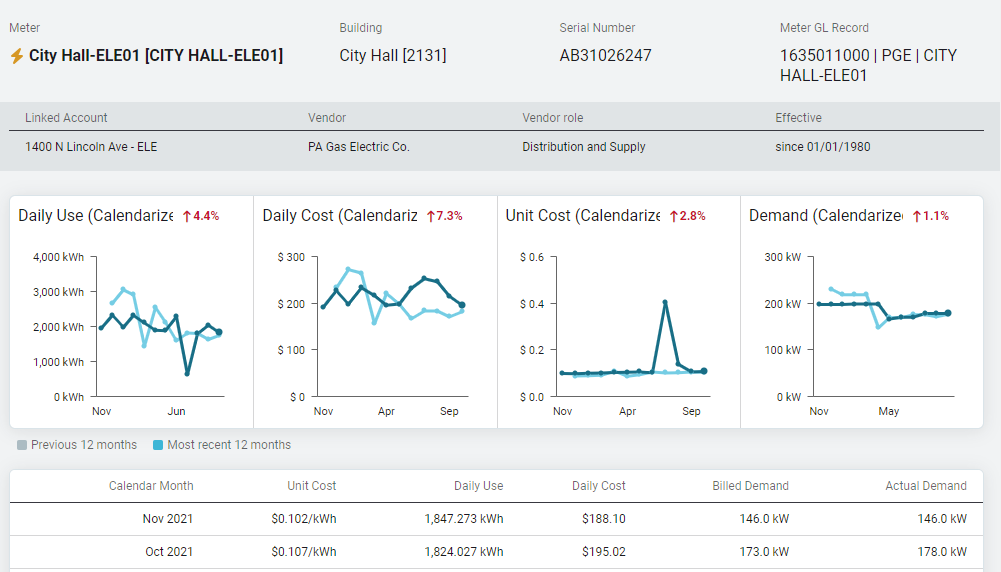
Example bill history pop-out is shown below.
